
Exothermic welding
Exothermic welding (also known as KALweld® welding, thermite welding and sometimes explosive welding) makes a permanent electrical connection between the conductors of earthing, bonding and lightning protection systems. An exothermic reaction of weld powder inside a graphite mould produces molten copper that surrounds the conductors and, once cooled, leaves a single solid joint, with no bolts and no need for electricity. Under our registered KALweld® brand we produce graphite moulds for 37 joint types in 7 groups, along with weld powder, handle clamps and installation tools. KALweld® welds have been tested to IEEE 837 and UL 467 at the Power and Water University of Technology (Shahid Abbaspour), and they passed the freeze-thaw, thermal cycling and short-circuit tests.
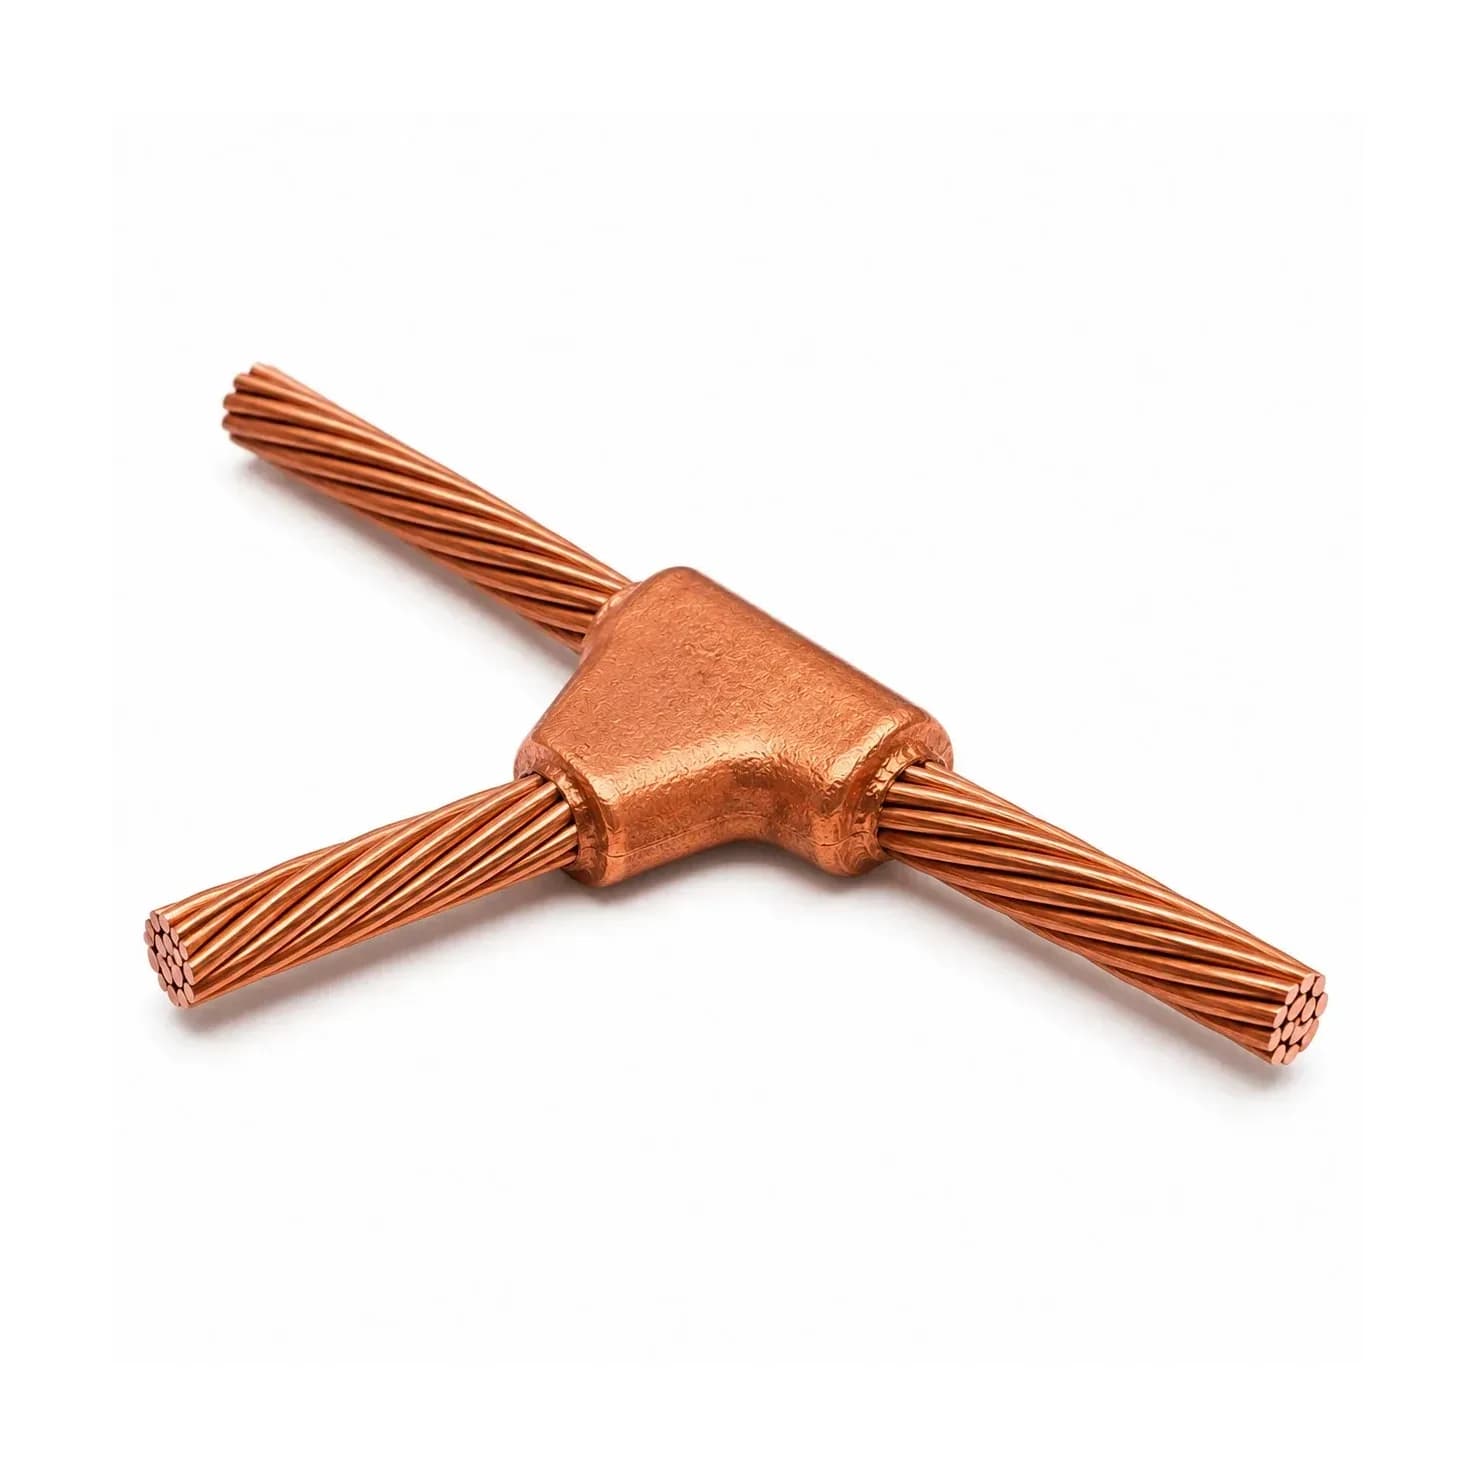 Conductor-to-conductor exothermic weldingStraight, T, four-way and parallel joints between bare copper conductors by exothermic welding.
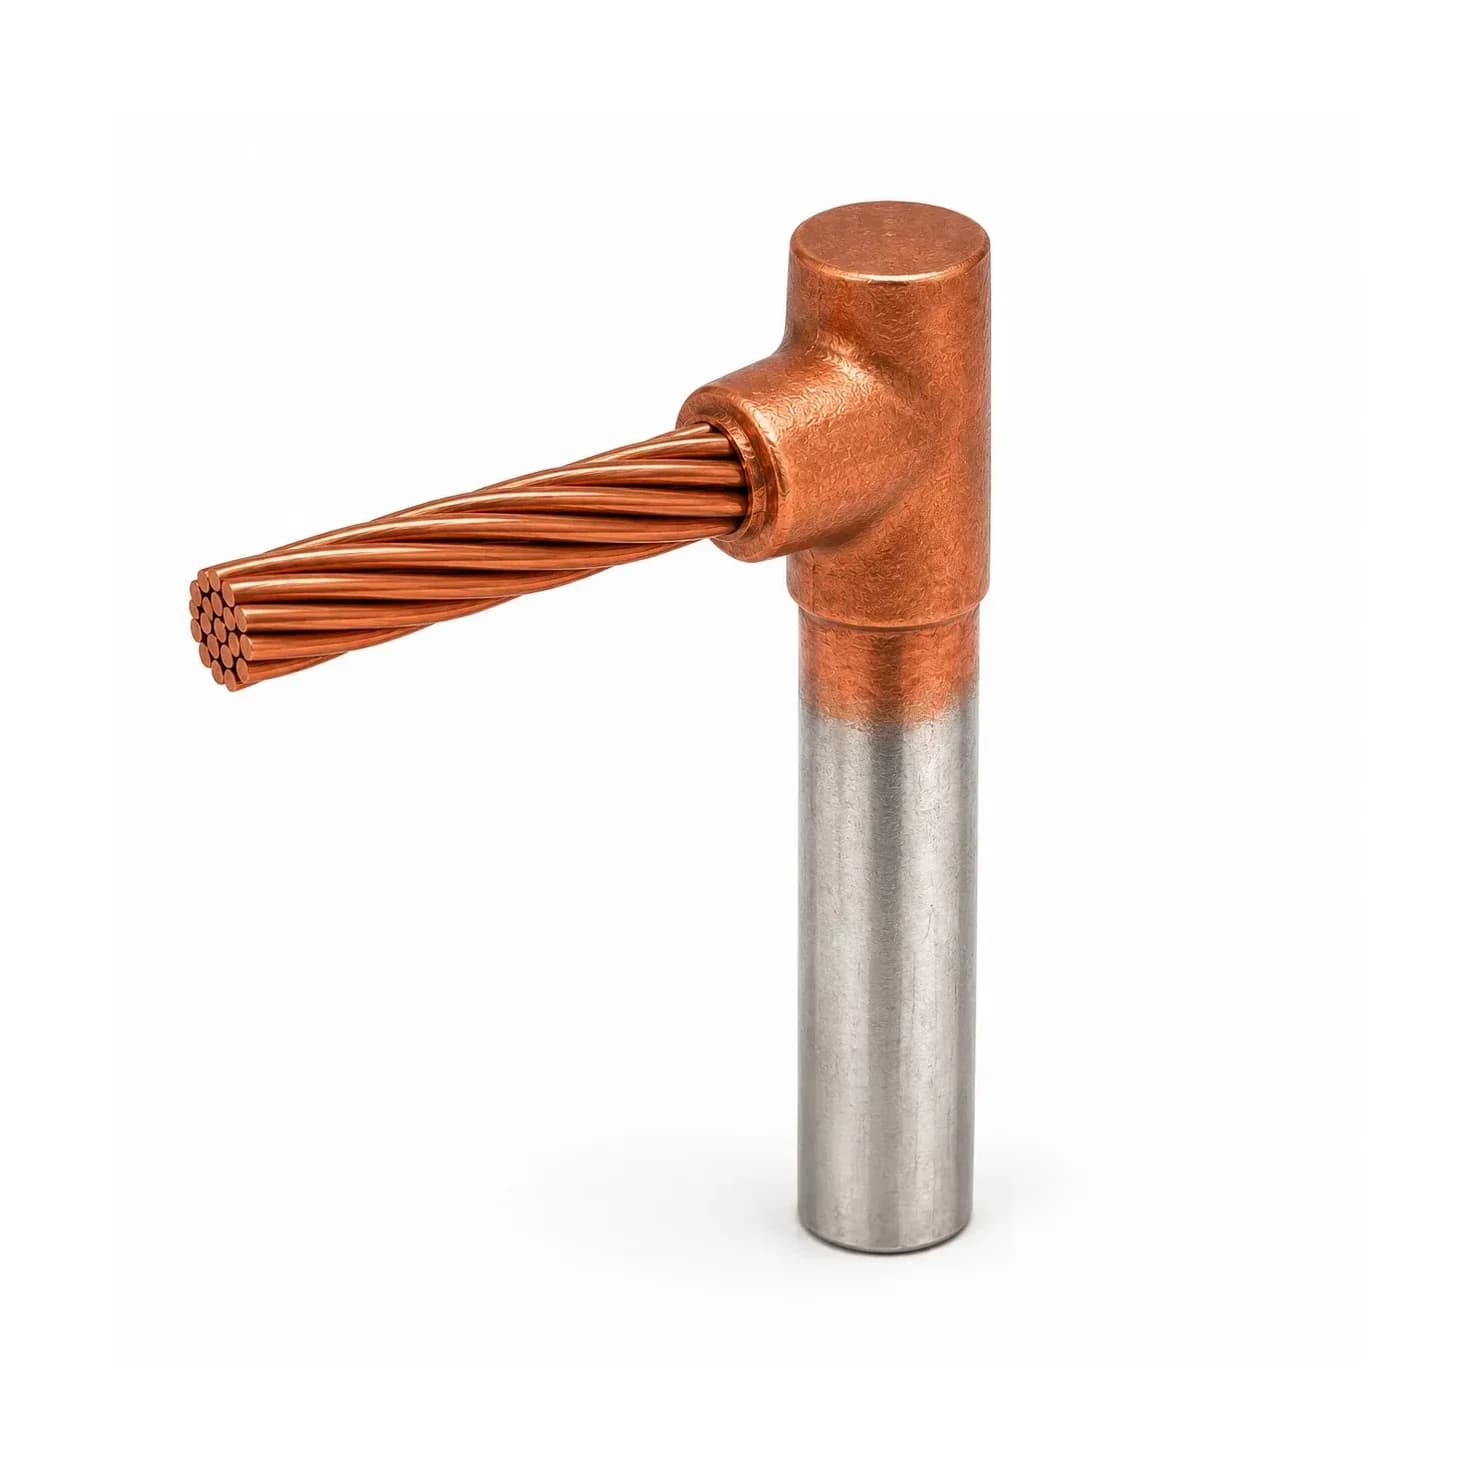 Conductor-to-earth rod exothermic weldingCopper conductor to the top or side of an earth rod: end, through-run and two parallel conductors.
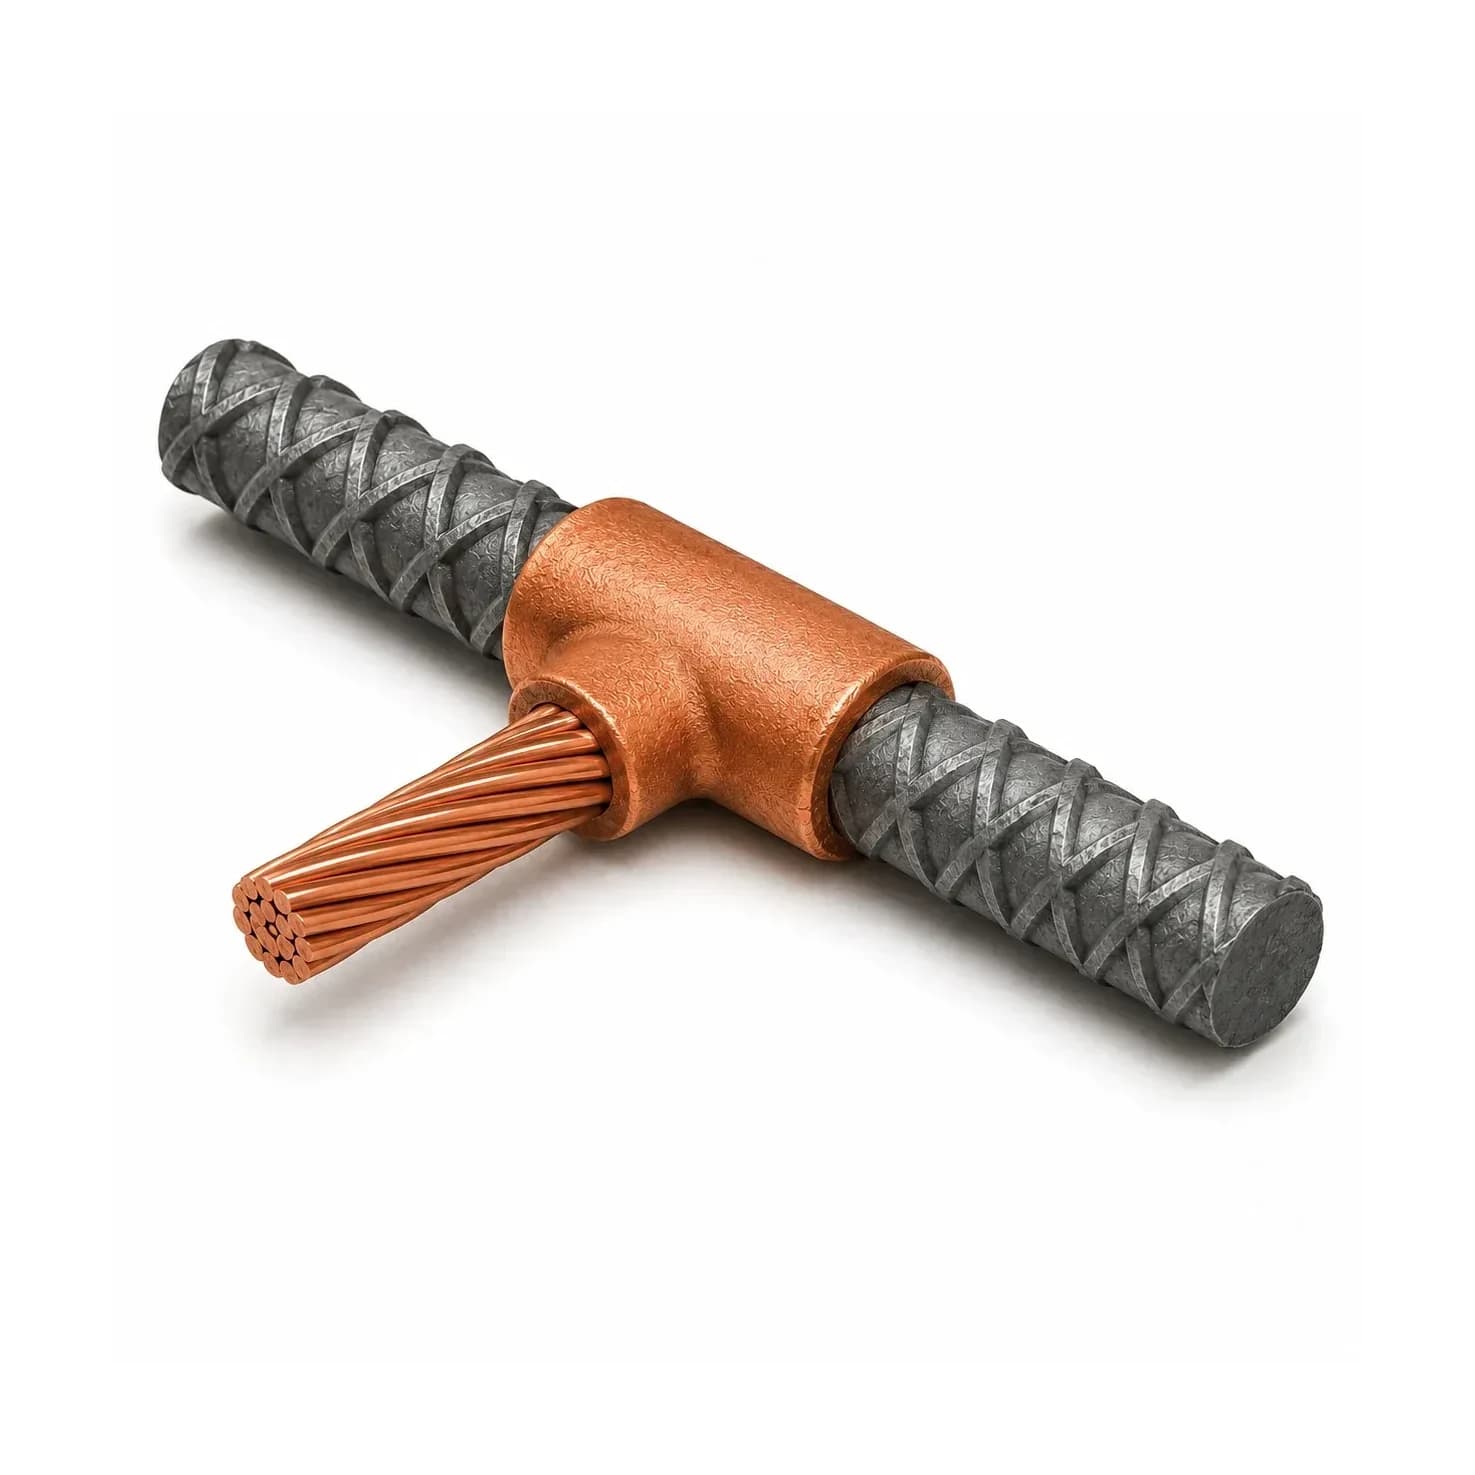 Conductor-to-reinforcing bar exothermic weldingCopper conductor to horizontal and vertical reinforcing bars for foundation earthing and structural bonding.
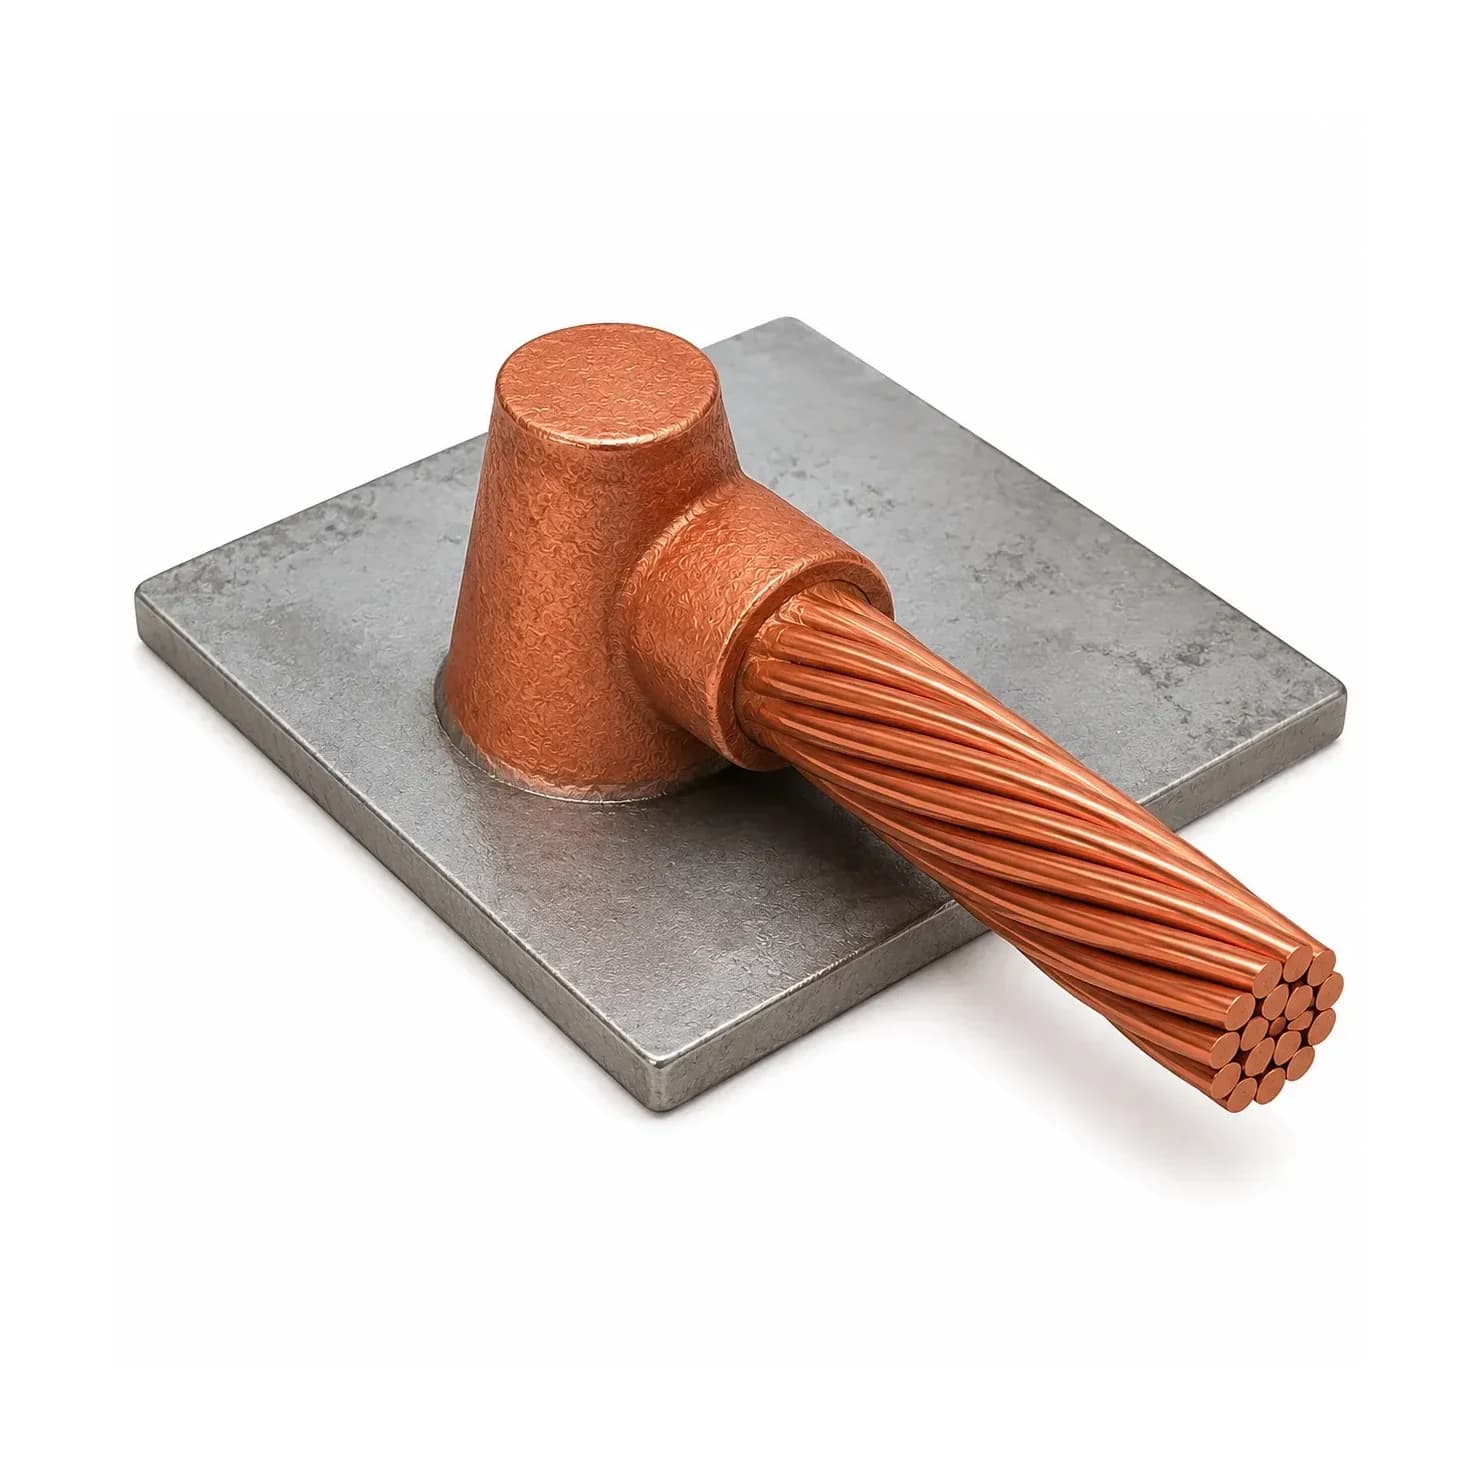 Conductor-to-steel plate exothermic weldingCopper conductor to horizontal or vertical steel plates and structures: end and through-run joints in various directions.
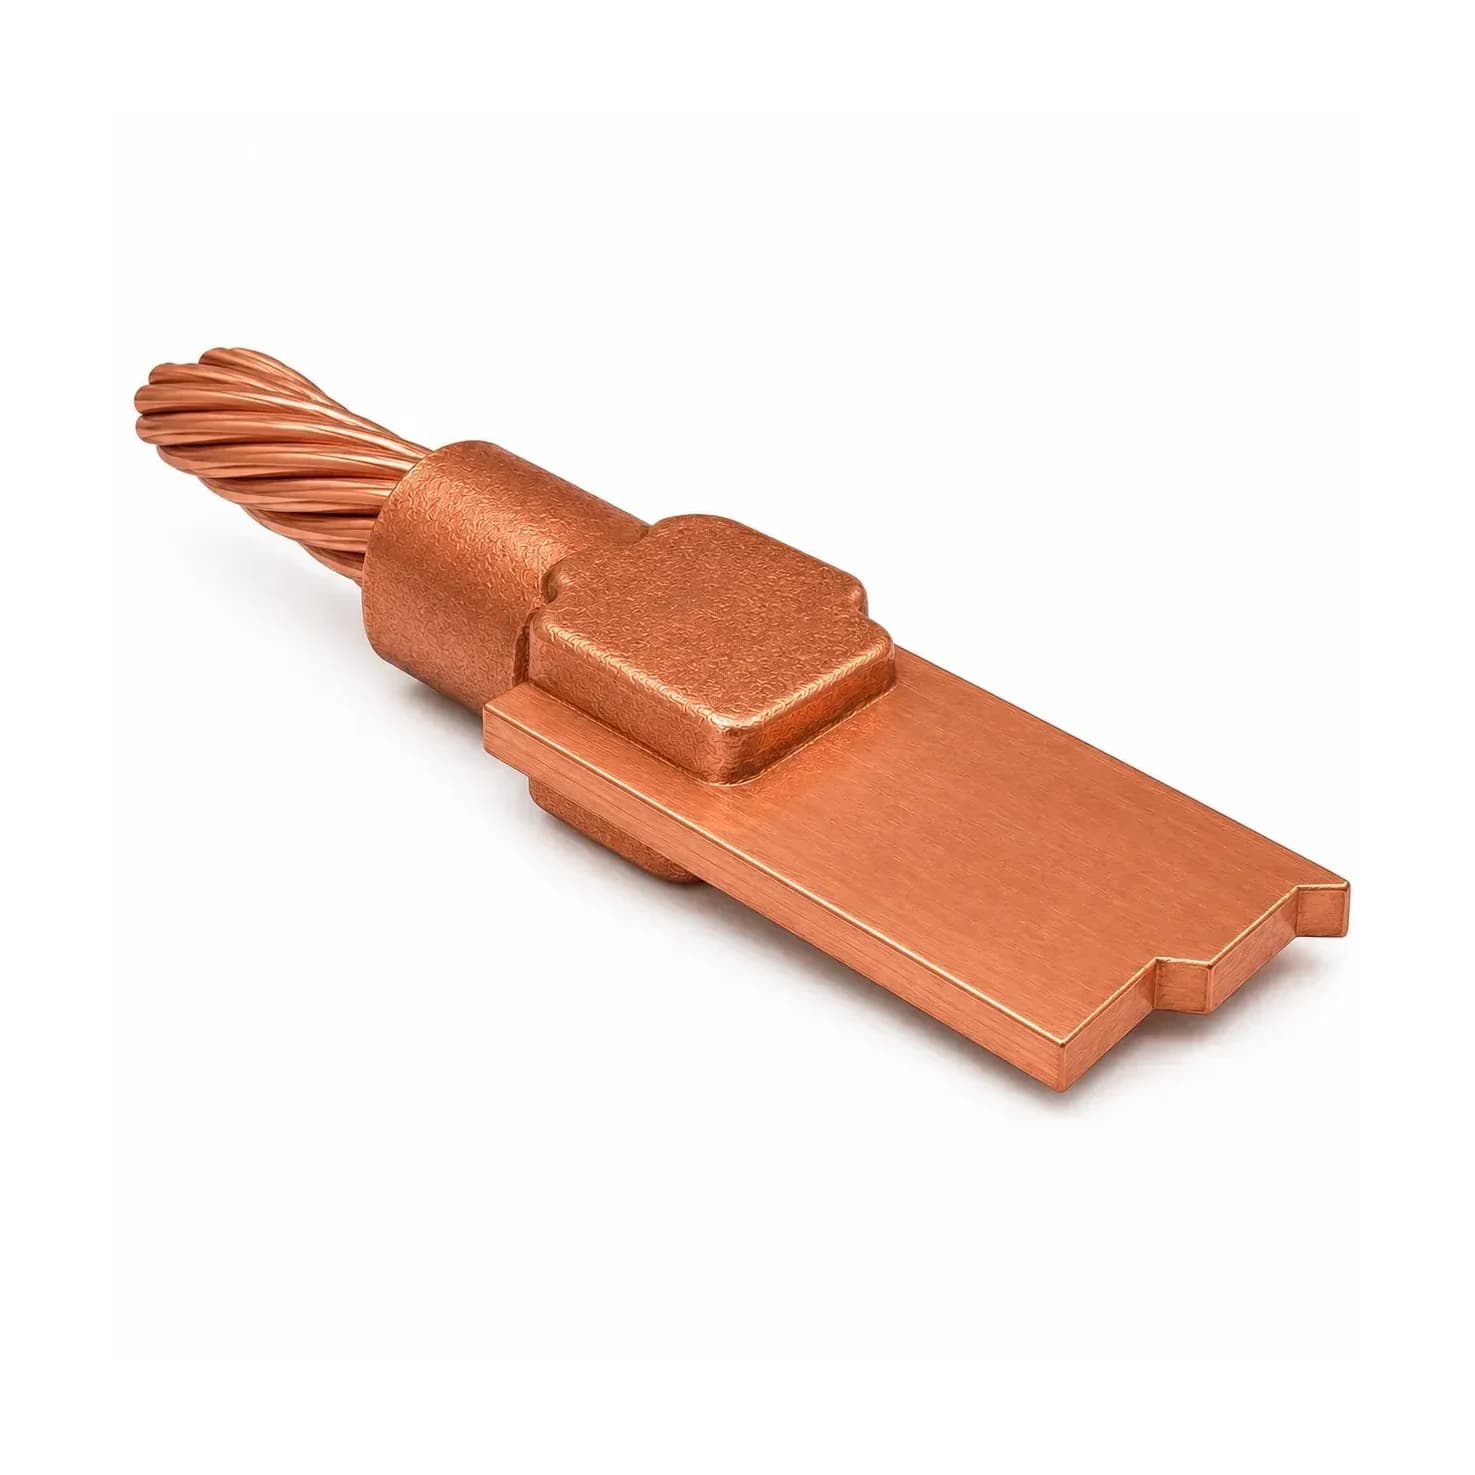 Conductor-to-tape exothermic weldingBare copper conductor to the end of or onto a copper tape, end and through-run.
 Tape-to-earth rod exothermic weldingCopper tape to the top of an earth rod, end and through-run.
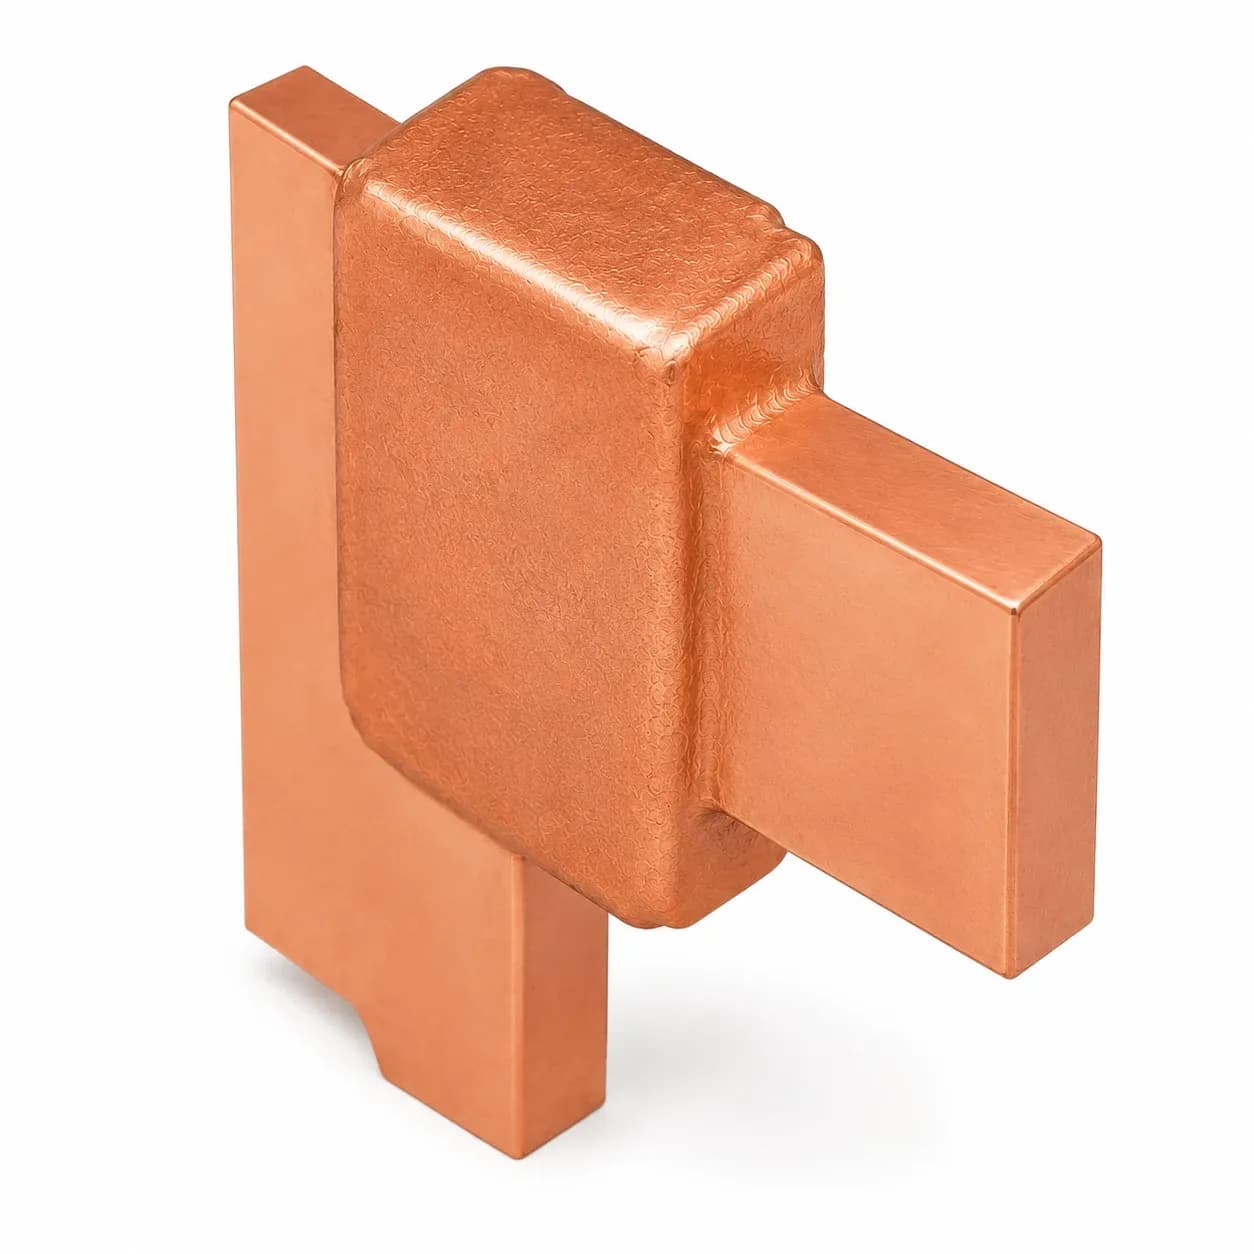 Tape-to-tape exothermic weldingStraight, elbow, T, four-way and overlap joints between copper tapes.
KALweld® exothermic welding: copper wire to copper wire
What is exothermic welding and how does it work?
Weld powder is a mixture of copper oxide and aluminium powder. When the starter on top of the powder is lit by a spark, the aluminium takes the oxygen from the copper oxide in a highly exothermic reaction. The reaction temperature is far above the melting point of copper (1083 degrees Celsius). The resulting molten copper melts the steel disc at the bottom of the chamber and flows through the mould's channel into the weld cavity. The aluminium oxide slag, being lighter, stays on top of the melt and is removed after welding.
The molten copper melts the surface of the conductors and fuses with them. So the joint has no contact surface that could loosen, oxidise or gain resistance over time. The graphite mould sets the final shape and size of the weld, and each joint type and conductor size needs its own mould.
Advantages of exothermic welding over bolted and clamped connections
- Permanent and maintenance-free: there are no bolts or nuts to work loose through vibration, expansion and contraction, or corrosion.
- Cross-section and conductivity equal to or greater than the conductor: a correctly made weld surrounds the conductors with the same copper and keeps the current path complete.
- Withstands short-circuit and lightning current: because the joint has become part of the conductor, it behaves like the conductor under the heat of fault current. That is why it is common in the earth grids of substations and power plants.
- Suited to burial in soil and concrete: a joint hidden underground or inside foundation concrete after installation must stay sound for years without inspection.
- No electricity or heavy equipment needed: with a mould, a handle clamp, powder and a spark lighter, it can be done anywhere on site.
On the other hand, an exothermic weld is a one-off joint that cannot be opened. For points that must be opened for measurement (such as an earth bar disconnect link or the top of an earth rod in an earth inspection cover), use earthing and bonding clamps. Welding also requires a dry, clean conductor, a sound mould and adherence to the instructions.
Components of the exothermic welding system
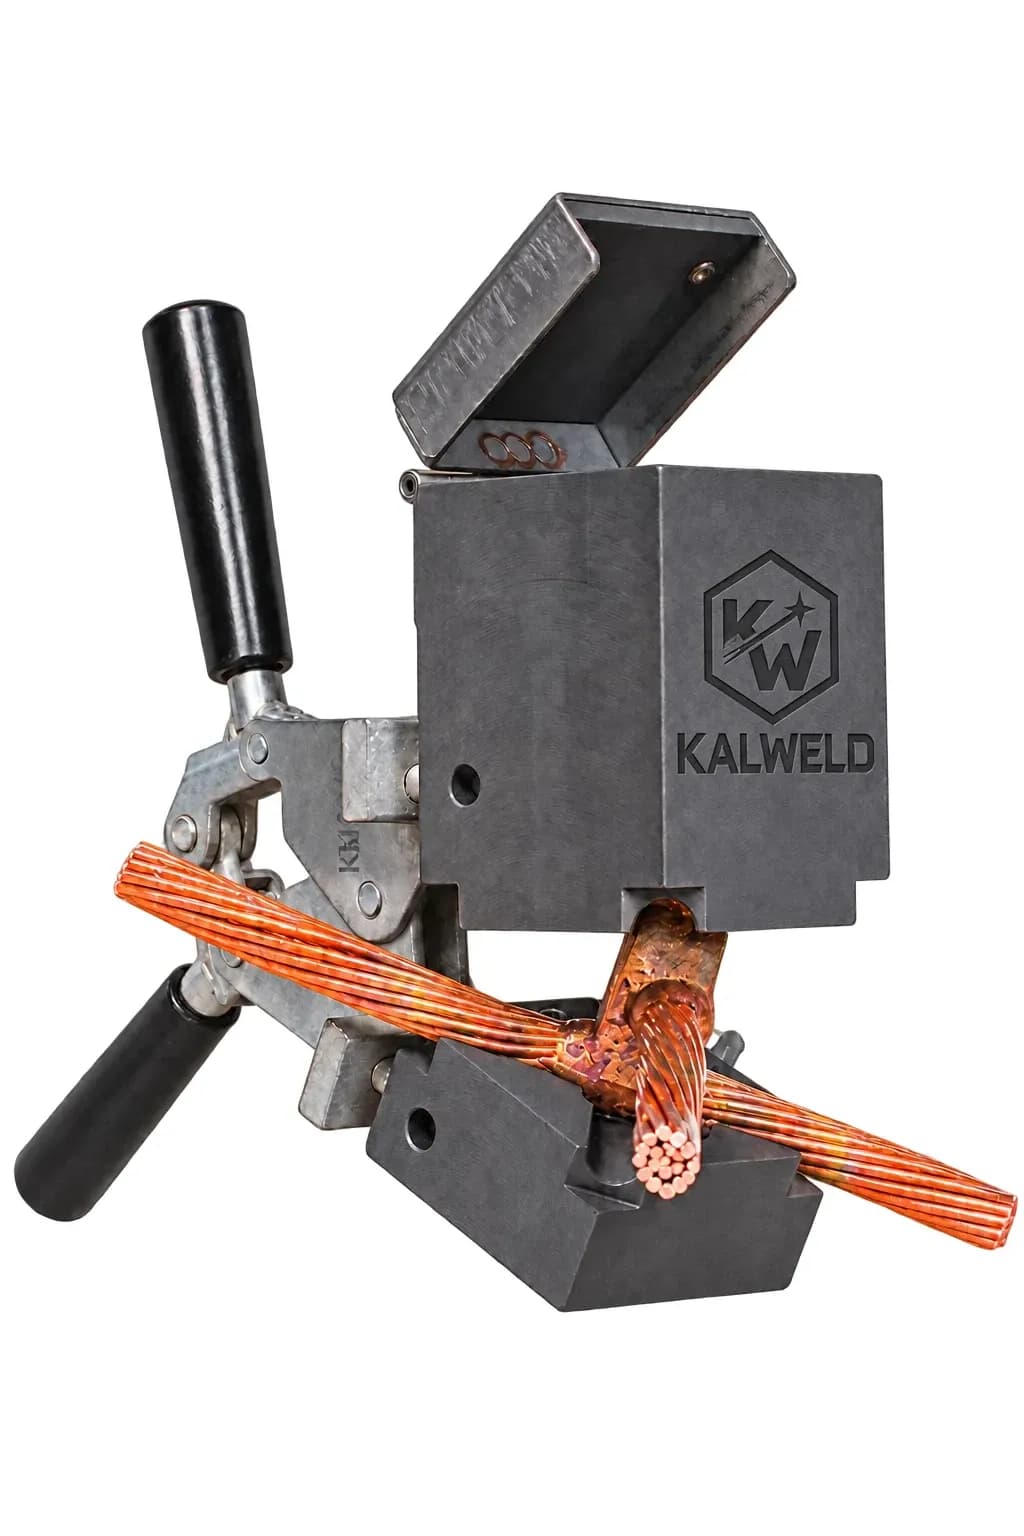
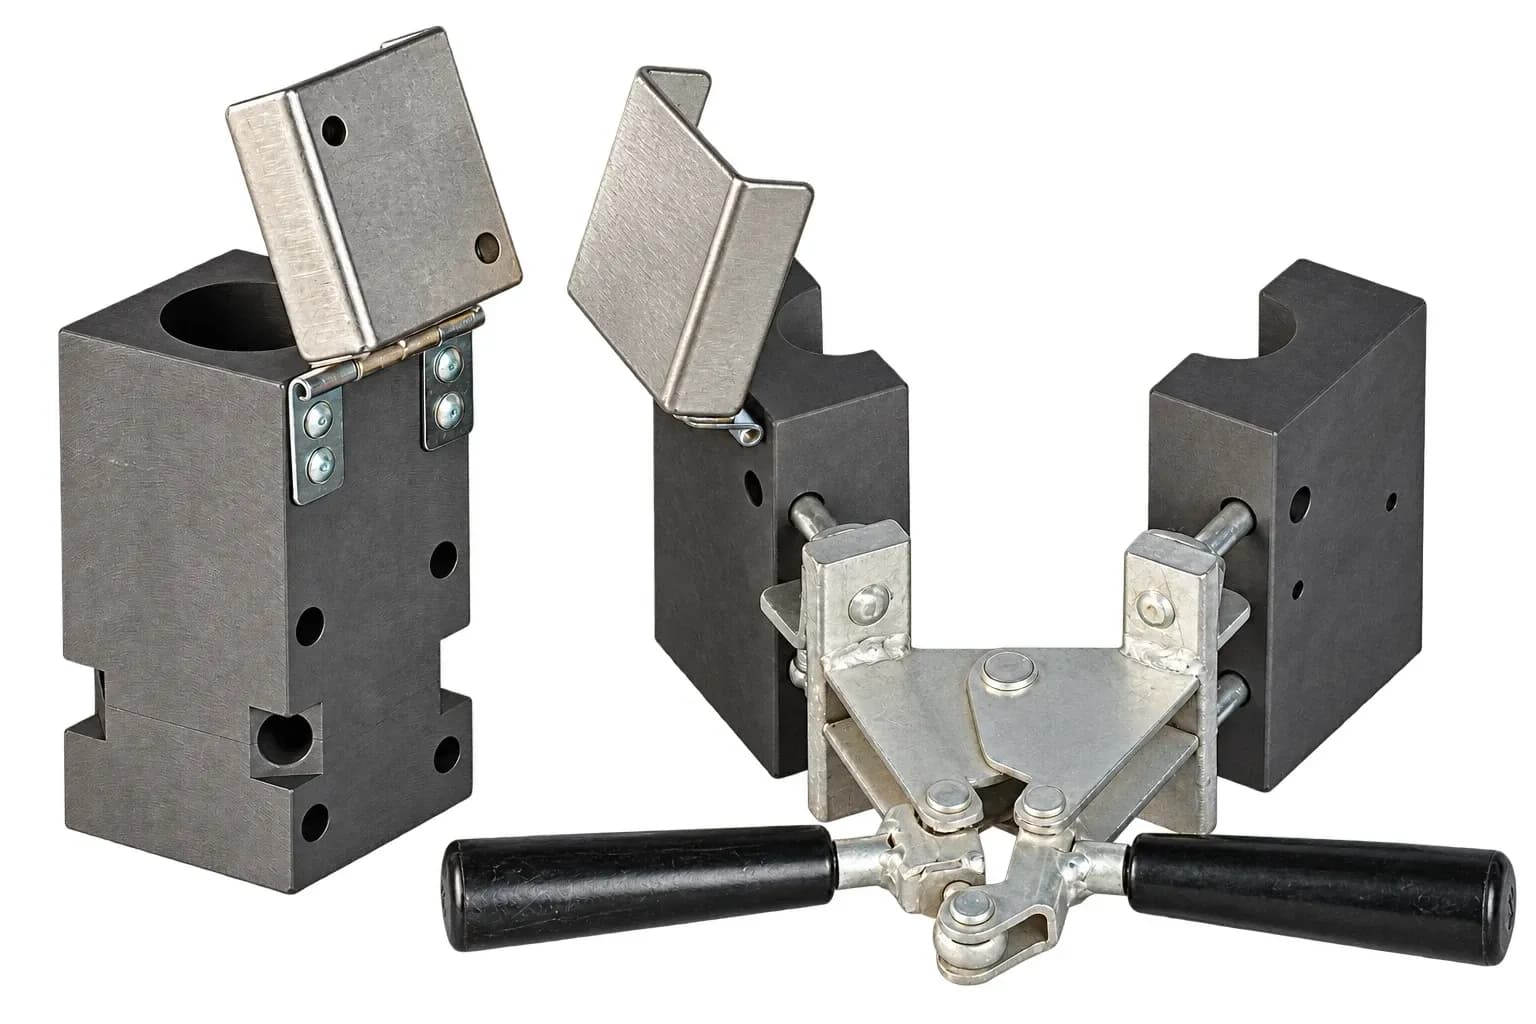
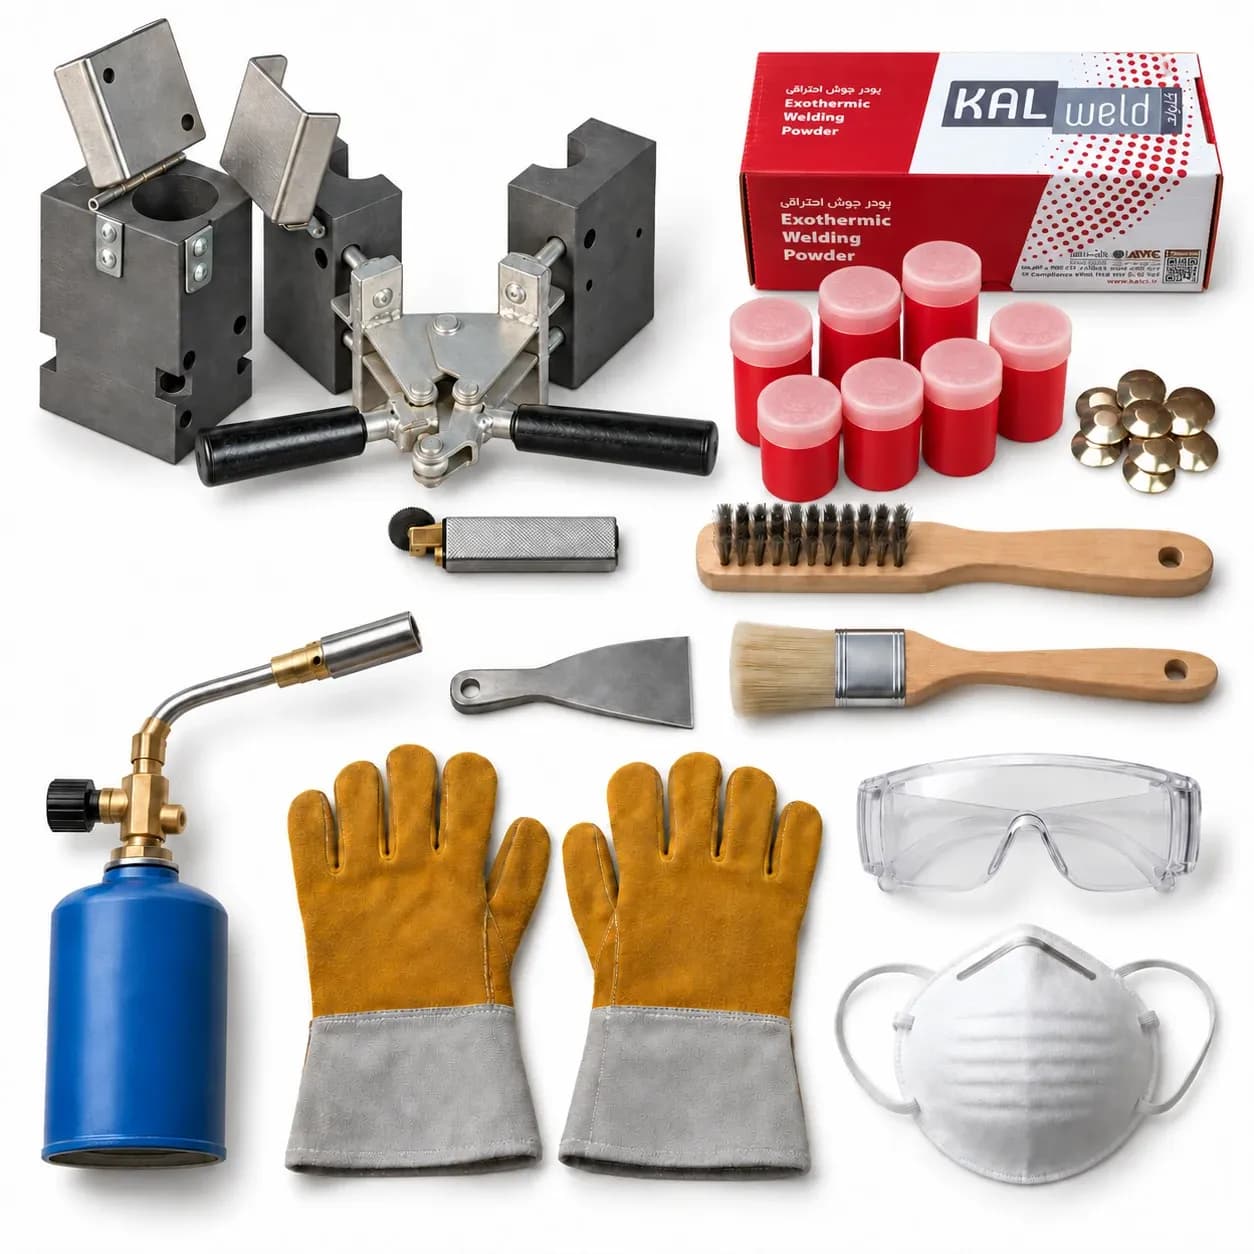
Graphite mould: a two-piece graphite body with a reaction chamber, a channel for the melt and a weld cavity machined exactly to the conductor size. Graphite quality and machining accuracy directly affect weld quality and mould life. KALweld® moulds are made of good-quality semi-permanent graphite and, with correct use and adherence to the instructions, each mould lasts for 50 to 60 welds. The mould code and the right powder size are marked on the mould lid.
Handle clamp: locks the two halves of the mould together and makes it safe to hold the hot mould. It comes in three sizes: HC 01 (standard), HC 02 (medium) and HC 03 (large), and the table for each weld shows the right handle clamp for the mould. To hold a mould on a horizontal or vertical pipe or reinforcing bar, use the HC CH chain handle clamp, and to hold a mould steady, use the HC AC support stand.
Weld powder: KALweld® weld powder is a good-quality mixture of copper oxide and aluminium, supplied in plastic containers of 25 to 250 grams (KWD 025 to KWD 250). The number on each pack is the powder weight in grams. Containers of 25 to 65 grams are packed in boxes of 20, and containers of 90 to 250 grams in boxes of 10. The powder size depends on the joint type and the conductor cross-section and is given in the table for each mould. Too little or too much powder gives an incomplete weld or leakage.

Steel disc and starter powder: the metal discs come in a separate bag inside each box, and each weld needs one disc. The disc covers the bottom of the reaction chamber so that the powder does not fall into the weld cavity before the reaction. The starter powder is compacted at the bottom of each container and is released by a few firm taps on the base. It is poured over the weld powder and the edge of the mould, then lit with a spark from the lighter.
Tools and safety equipment: gloves (GLV), dust mask (DMM), safety glasses (GLS), mould cleaner (MSC), spark lighter (FIG), wire brush for conductors (WRB) and mould cleaning brush (MCB). All of these also come in the complete TK1 toolbox. A small gas torch is also needed for drying and heating.
Types of exothermic weld: 37 joint types in 7 groups
Each mould name starts with two letters that show the joint type (C cable, T tape, E earth rod, R reinforcing bar, S steel surface), and the number that follows gives the joint shape. To see the size table, the right powder and a picture of each weld, open the relevant group:
Group | Conductors joined | Codes |
|---|---|---|
Bare copper conductor to copper conductor: straight, tee, cross and parallel | CC1, CC2, CC4, CC6, CC7, CC14, CC41 | |
Copper conductor to the top or body of an earth rod | CE1, CE2, CE3, CE17 | |
Copper conductor to horizontal and vertical foundation reinforcing bars | CR1, CR2, CR3, CR4, CR6, CR17 | |
Copper conductor to copper tape | CT1, CT4, CT5 | |
Copper conductor to a horizontal or vertical steel plate, column or structure | CS1, CS2, CS3, CS7, CS8, CS9, CS25, CS27, CS46 | |
Copper tape to copper tape: straight, elbow, tee, cross and overlapping | TT1, TT2, TT3, TT7, TT14, TT41 | |
Copper tape to the top of an earth rod | TE1, TE2 |
The usual conductors for these joints are bare copper conductor, copper tape, copper-bonded earth rods and solid copper earth rods, all available in our earthing and bonding equipment range.
How to make an exothermic weld, step by step
- Check the mould and powder: the mould must match the joint type and conductor size, and the powder must be the size written on the mould lid.
- Clean the conductors: brush the conductor surface with a wire brush down to bright metal, removing all oil, mud, paint and oxide. On steel surfaces and reinforcing bars, remove rust, paint and galvanised coating with a grinder or file.
- Dry and heat the conductors and mould: dry the conductors with a torch and gently heat a cold mould before the first weld, until a drop of water sizzles on it. Graphite absorbs moisture from the air, and moisture is the main cause of holes and porosity in a weld.
- Fit the handle clamp to the mould: mount and adjust the handle clamp so that the two halves of the mould seat fully together.
- Place the conductors in the mould and lock it: the conductors must sit without pressure, exactly in the centre of the weld cavity. Close and lock the mould, and hold any conductor under tension with a clamp.
- Insert the steel disc: place the disc, hollow side up, at the bottom of the reaction chamber over the channel opening.
- Pour the weld powder: pour the powder gently into the chamber without moving the disc.
- Add the starter powder and close the lid: pour the starter from the bottom of the container over the powder and the edge of the mould, then close the mould lid.
- Light it with the spark lighter: strike the spark from the side of the mould and step away at once. Never light the starter with a match or flame.
- Wait, then open the mould: after the reaction ends, wait at least one minute for the melt to solidify. Then open the mould carefully and take out the weld.
- Clean the mould for the next weld: remove the slag from the mould's chamber and channel with a bristle brush and a scraper. Never clean the mould with a wire brush.
- Inspect the weld: a sound weld has fully filled the mould cavity and completely covered the conductors, and after cleaning its colour is golden to copper.
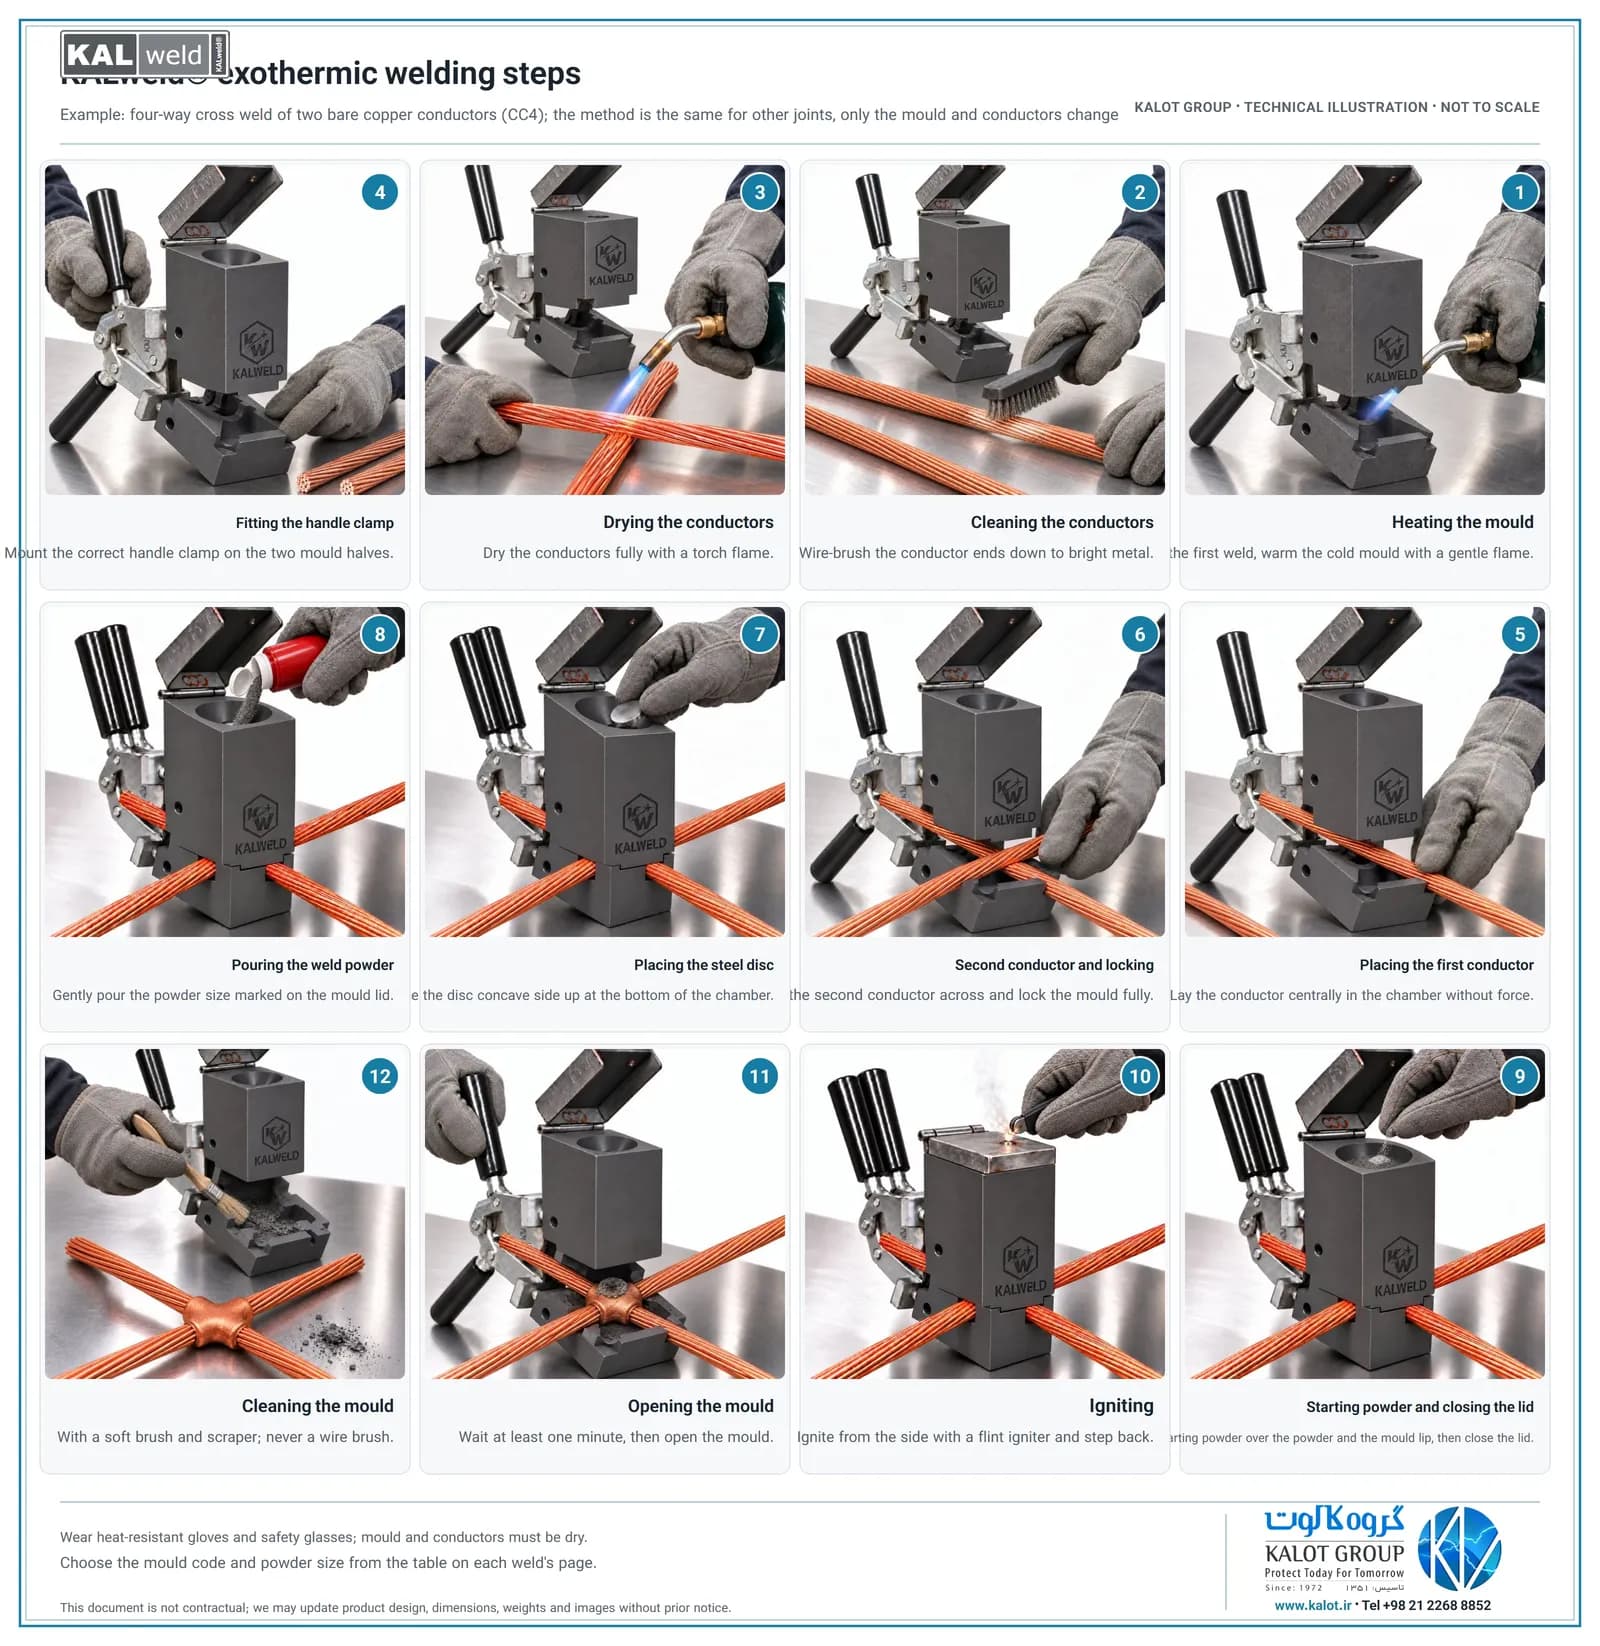
All of these steps, along with safety notes, troubleshooting and the powder tables, are also in our 6-page KALweld® instructions: download the KALweld® exothermic welding instructions (PDF), and the 12-step sheet (PDF).
Safety and welder health notes
- Personal protective equipment: wear heat-resistant gloves, safety glasses, long-sleeved clothing and safety shoes. Move a hot mould only with the handle clamp and with gloves on.
- Fumes and ventilation: after lighting, step away from the mould and stand with your back to the wind. Do not breathe the fumes and dust of the reaction, and ventilate enclosed spaces.
- Moisture is dangerous: contact between the melt and water, or a wet conductor or mould, causes sudden steam and spattering of the melt. The mould and conductors must always be dry.
- Fire: keep combustible materials away from the work area and have an extinguisher or dry sand within reach. Do not smoke while handling the powder.
- Do not stare at the reaction: the light of the reaction is very intense, so do not look straight at it.
- Storing the powder: keep the powder and starter in undamaged packaging, in a dry place away from impact and heat, and take only the daily quantity to site.
Exothermic weld troubleshooting: causes and solutions
Fault | Common cause | Solution |
|---|---|---|
Holes and porosity in the weld | Moisture in the mould or conductor; oil and grease; galvanised coating | Heat the mould before the first weld; dry and clean the conductor; remove the galvanised zinc |
Excess slag on the weld | Disc not seated; damaged disc seat; raw powder falling into the weld cavity | Place the disc correctly; replace the damaged mould |
Melt leaking around the mould | Worn mould; conductor smaller than the mould; handle clamp not fully closed | Adjust the handle clamp; use a mould that matches the conductor size; use heat insulation for reinforcing bar welds |
Conductors not fusing together | Moisture and oxide on the conductor; conductors badly placed in the mould; unsuitable powder | Clean fully; place the conductors in the centre of the cavity; use the powder written on the mould lid |
Mould not seating on the conductor | Foreign matter between the mould halves; wrong conductor size; deformed conductor cross-section | Clean the contact faces of the two halves; cut off the damaged conductor end; choose the right mould |
Early mould wear | Cleaning with a wire brush; impact and dropping the mould; repeated welds and overheating; opening too early | Clean with a bristle brush; store in the box; wait before opening the mould |
Guide to choosing the exothermic welding mould and powder
To choose correctly, define three things: the joint type (conductor to conductor, conductor to earth rod, conductor to reinforcing bar and so on) and its shape (straight, tee, through or end), the conductor sizes (conductor cross-section in square millimetres, tape dimensions, earth rod or reinforcing bar diameter) and the surface material (copper, steel, galvanised steel). The mould code and powder size come from the table on each weld's page. If your joint is not in these tables or combines different sizes, send the drawing or conductor details to our specialists and they will recommend the right mould.
KALweld® weld test results to IEEE 837 and UL 467
KALweld® exothermic welds were tested at the Power and Water University of Technology (Shahid Abbaspour), Ministry of Energy. The samples were cross and tee welds on 120 square millimetre copper conductor, and the tests followed IEEE 837 and UL 467. Every test result was a pass (reports 95/4221 and 95/4220, dated 1395/12/24):

Test | Test conditions | Cross weld result (report 95/4221) | Tee weld result (report 95/4220) |
|---|---|---|---|
Freeze-thaw cycle | 10 cycles: more than 2 hours below -10 degrees in water and more than 2 hours above +20 degrees | No cracks or fractures; resistance 176 to 179 µΩ/m (pass) | No cracks or fractures; resistance 179 to 184 µΩ/m (pass) |
Thermal cycle (resistance change) | 25 cycles at a current above 1100 amperes; reference conductor up to 350 degrees | Greatest change in weld resistance 2.8% (pass) | Greatest change in weld resistance 3.0% (pass) |
Weld temperature in the thermal cycle | Thermometer on each weld and on the reference conductor (350 degrees) | 286 to 306 degrees; cooler than the conductor (pass) | 287 to 309 degrees; cooler than the conductor (pass) |
Short circuit (up to melting point) | Circuit of 120 square millimetre copper conductor, 20 kA current | A current of 12 kA was withstood for 8 seconds with no fault; then at 20 kA the copper conductors melted and the welds stayed sound (pass). | At a current of 20 kA the copper conductors melted and the welds stayed sound (pass). |
In the thermal cycle test, weld resistance changed by at most 3.0% after 25 cycles. That matches the change in the copper conductor itself and is far below the 1.5-fold increase that is the IEEE 837 acceptance criterion. Weld temperature stayed below conductor temperature throughout the test, and in the 20 kA short circuit the copper conductor melted before the weld. Read the full reports: cross weld test report, tee weld test report and the list of all documents and test reports.
Standards related to exothermic welding
Permanent joints in earth grids and lightning protection systems are covered in several international standards. IEEE 837 defines how permanent connections in substation earth grids are assessed, through thermal cycling, freeze-thaw, corrosion and short-circuit current tests. IEC 62561-1 places lightning protection connection components, including exothermic joints, among permanent connections. IEC 60364-5-54 recognises exothermic welding as one way to connect earth electrode parts and earthing conductors. NFPA 70 (sections 250.8 and 250.70) lists it among the permitted ways to connect an earthing conductor to an electrode. IEEE 80 also takes the allowable joint temperature into account when sizing conductors in substation earth grid design.
Frequently asked questions about exothermic welding
Have KALweld® welds been tested?
Yes. KALweld® cross and tee welds passed the freeze-thaw test (10 cycles), the thermal cycle test (25 cycles) and the 20 kA short-circuit test to IEEE 837 and UL 467 at the Power and Water University of Technology (Shahid Abbaspour). Every result was a pass, and the results table and full reports are on this page.
How does KALweld® welding differ from exothermic welding?
There is no difference. KALweld® is KALOT Group's registered brand of exothermic welding; exothermic welding and thermite welding are other names for the same method.
How many welds can each graphite mould make?
With correct use and adherence to the instructions, each KALweld® mould lasts for 50 to 60 welds. Cleaning the mould with a wire brush, impact, moisture and opening it too early all shorten its life.
Does the mould need heating before welding?
Yes. A cold mould, or one left unused for a while, has absorbed moisture, and its first weld will have holes. Heat the mould before the first weld. In consecutive welds the mould is already hot and needs no further heating.
How soon after lighting can the mould be opened?
The reaction is over in a few seconds, but wait at least one minute for the melt to solidify. Opening it sooner both damages the weld and wears the mould.
How do I choose the weld powder size?
The powder size (for example KWD 090) is shown on each mould lid and in the table on each weld's page, and it depends on the conductor cross-section. Do not substitute powder from another mould or a different size.
Can exothermic welds be made on galvanised steel, reinforcing bars or steel plate?
Yes, with the mould made for that joint. The weld area must be cleaned to bright metal with a grinder or file, removing the galvanised coating, paint and rust. Leftover galvanised zinc is a common cause of porosity.
What does a sound weld look like?
A sound weld has fully filled the mould cavity and completely covered the conductors, its slag has come away easily, and after cleaning its colour is golden to copper. Deep holes, unmelted conductor under the slag or an incomplete weld are signs of a faulty weld, which must be redone.
Does exothermic weld powder explode?
No. Its reaction is rapid, highly exothermic combustion, not an explosion. Even so, the powder is flammable and must be kept dry, in undamaged packaging and away from heat.